Even though it may seem difficult, taking apart a recliner can be done quite easily if you possess the right tools and patience.
Whether you need to move your recliner to a different room or want to dispose of it, taking it apart is the first step.
In this article, we will provide a step-by-step guide on how to take a recliner apart.
How To Take A Recliner Apart? A Step-by-Step Guide
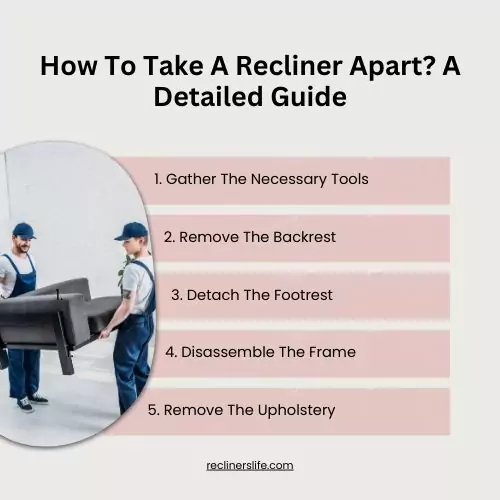
Taking a recliner apart is not that difficult. You have to be prepared and have the necessary tools. So let’s take a recliner apart in a step-by-step process.

Step 1: Gather The Necessary Tools
Before you begin taking apart your recliner, you will need some tools to help you. These tools include a screwdriver, pliers, a wrench, and a utility knife.
Make sure you have all the necessary tools on hand before you begin the process.
Step 2: Remove The Backrest
The first step in taking apart a recliner is to remove the backrest. Most recliners have a lever or knob on the side that allows you to release the backrest.
Once the backrest is released, you can remove it by pulling it upwards.
If your recliner does not have a lever or knob, look for screws that hold the backrest in place and remove them using a screwdriver.
Step 3: Detach The Footrest
Next, you will need to detach the footrest from the recliner.
Look for screws that attach the footrest to the frame and remove them using a screwdriver. Once the screws are removed, you can detach the footrest from the frame.
Step 4: Remove The Armrests
To remove the armrests, look for screws that attach them to the frame and remove them using a screwdriver.
If your recliner does not have screws, look for clips that hold the armrests in place and use pliers to remove them.
Step 5: Disassemble The Frame
Now that you have removed the backrest, footrest, and armrests, you can disassemble the frame. Look for screws that hold the frame together and remove them using a wrench.
Once the screws are removed, you can separate the frame into its pieces.
Step 6: Remove The Upholstery
Finally, you can remove the upholstery from the recliner. Look for clips or staples that hold the upholstery in place and use a utility knife or pliers to remove them.
Once the upholstery is removed, you can dispose of it or save it for future use.
Why Take A Recliner Apart?
Taking a recliner apart may be necessary for a variety of reasons, including:
- Disposal
If you need to remove an old or damaged recliner, taking it apart may make it easier to dispose of.
Disassembling the recliner can help reduce its size, making it easier to fit in a car or truck for transport to a landfill or recycling center.
- Repair
If your recliner needs repairs, taking it apart can help you access the inner workings of the chair. This can be especially helpful if you need to replace or repair the frame, springs, or other components.
- Moving
If you are moving to a new home or apartment, taking apart your recliner can make it easier to transport.
By disassembling the chair, you can make it more manageable to move through doorways and up or down stairs.
- Cleaning
Taking apart your recliner can make it easier to clean, especially if you need to remove stains or odors from the upholstery. Removing the cushions and covers allows you to access hard-to-reach areas and thoroughly clean the chair.
How To Assemble a Recliner? Step-by-Step Guide
Now that you have disassembled the recliner and served the purpose, it’s time to reassemble your recliner. Here is a step-by-step guide on how to assemble your recliner.
Step 1: Unpack and Sort the Parts
Begin by unpacking all the parts of your recliner and sorting them according to their function. This step will make the assembly process more manageable and help you avoid confusion later.
Step 2: Attach the Backrest
Next, attach the backrest to the base of the recliner. Align the holes on the backrest with the holes on the base, and use the screws provided to secure them in place. Tighten the screws with a screwdriver.
Step 3: Attach the Armrests
Attach the armrests to the base of the recliner using the screws provided. Make sure that the armrests are level and aligned correctly before tightening the screws.
Step 4: Install the Footrest
Install the footrest by attaching it to the base of the recliner. Again, align the holes and secure them with screws. Make sure that the footrest is level and aligned correctly before tightening the screws.
Step 5: Connect the Reclining Mechanism
Connect the reclining mechanism to the backrest of the recliner. Use the screws and bolts provided to secure it in place. If your recliner has an electric mechanism, connect the wiring correctly.
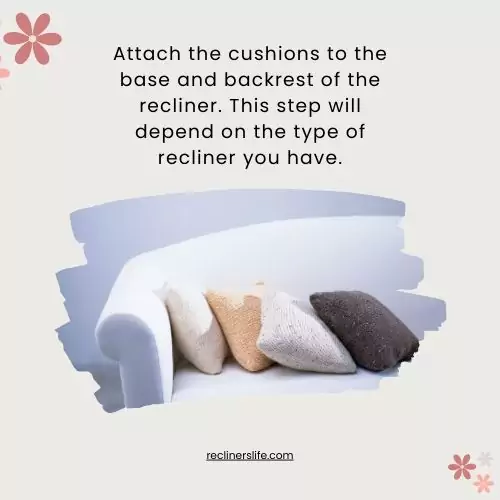
Step 6: Attach the Cushions
Attach the cushions to the base and backrest of the recliner. This step will depend on the type of recliner you have, so make sure to refer to the owner’s manual for instructions.

Step 7: Test the Recliner
Once you’ve completed the assembly, test the recliner to make sure that it’s working correctly. Sit in the recliner and check that it reclines smoothly and that all the parts are securely in place.
Conclusion
At the end of the day, taking apart a recliner or reassembling it is not as difficult as it may seem, especially when you have the right tools and follow the step-by-step process. Whether you need to dispose of your recliner or transport it to a new location, the process is straightforward and can be accomplished with some patience and care.
Remember to take your time, stay organized, and follow the necessary safety precautions to avoid any injury or damage. With these tips in mind, you cay complete the process and achieve your desired outcome.
Frequently Asked Questions
How do you take a recliner chair apart?
To take a recliner chair apart, start by removing the backrest, footrest, and armrests. Then, disassemble the frame and remove the upholstery.
Use a screwdriver, pliers, wrench, and utility knife to help you remove any screws, clips, or staples holding the parts in place. Remember to take your time and be patient during the process to avoid any damage or injury.
Do all recliners come apart?
Not all recliners come apart in the same way. However, most recliners have similar mechanisms that allow you to remove the backrest, footrest, and armrests. Some recliners may also have additional features such as a lift mechanism or swivel base that may require different steps to take apart.
It’s important to consult the manufacturer’s instructions or seek professional help if you are unsure how to take apart your recliner.
How do you take the back off a recliner?
To take the back off a recliner, look for a lever or knob on the side that allows you to release the backrest. Once the backrest is released, you can remove it by pulling it upwards. If your recliner does not have a lever or knob, look for screws that hold the backrest in place and remove them using a screwdriver.
Remember to take your time and be patient during the process to avoid any damage or injury.
How do you take apart a reclining sofa to move it?
To take apart a reclining sofa to move it, start by removing the cushions, backrests, and armrests. Then, disassemble the frame and remove the upholstery. Use a screwdriver, pliers, wrench, and utility knife to help you remove any screws, clips, or staples holding the parts in place.
If your sofa has a reclining mechanism, make sure to disconnect it before taking it apart. Remember to take your time and be patient during the process to avoid any damage or injury.


