A power recliner is a great way to add comfort and convenience to your home. If you have a manual recliner that you love, you may be wondering if it is possible to convert it into a power recliner.
The good news is that it is possible, and it is a project that you can do yourself with basic tools and knowledge.
Essential Toolkit for Recliner Revamp
Conversion Kit: Opt for a comprehensive electric recliner conversion kit, which should encompass a motor, power source, and a control button.
Toolkit Basics: Arm yourself with a set of screwdrivers and wrenches, ensuring you’re equipped for any adjustments.
Electrical Essentials: Stock up on electrical tape and wire connectors to ensure safe and secure electrical connections.
Precision Tools: A measuring tape is indispensable for accurate fittings and alignments.
Upholstery Adjustments: If your recliner’s fabric needs a tweak, consider having upholstery tools on hand to ensure a seamless finish.
Step-by-Step Guide to Conversion
Preparation
- Begin by positioning your recliner in an open, well-illuminated space. This not only gives you ample room to work but also ensures clarity in each step.
- If your recliner’s design is such that the manual mechanism is covered, carefully remove the upholstery to unveil it. This might be a good time to assess if your chair’s fabric needs any repairs or cleaning too.
- Start by spotting the manual reclining lever. Once identified, use the appropriate tool to unscrew and remove it.
- Proceed to disconnect the entire manual reclining system from the chair’s base. Ensure you keep all parts intact, just in case you want to revert or reuse them in the future.
Removing the Manual Mechanism
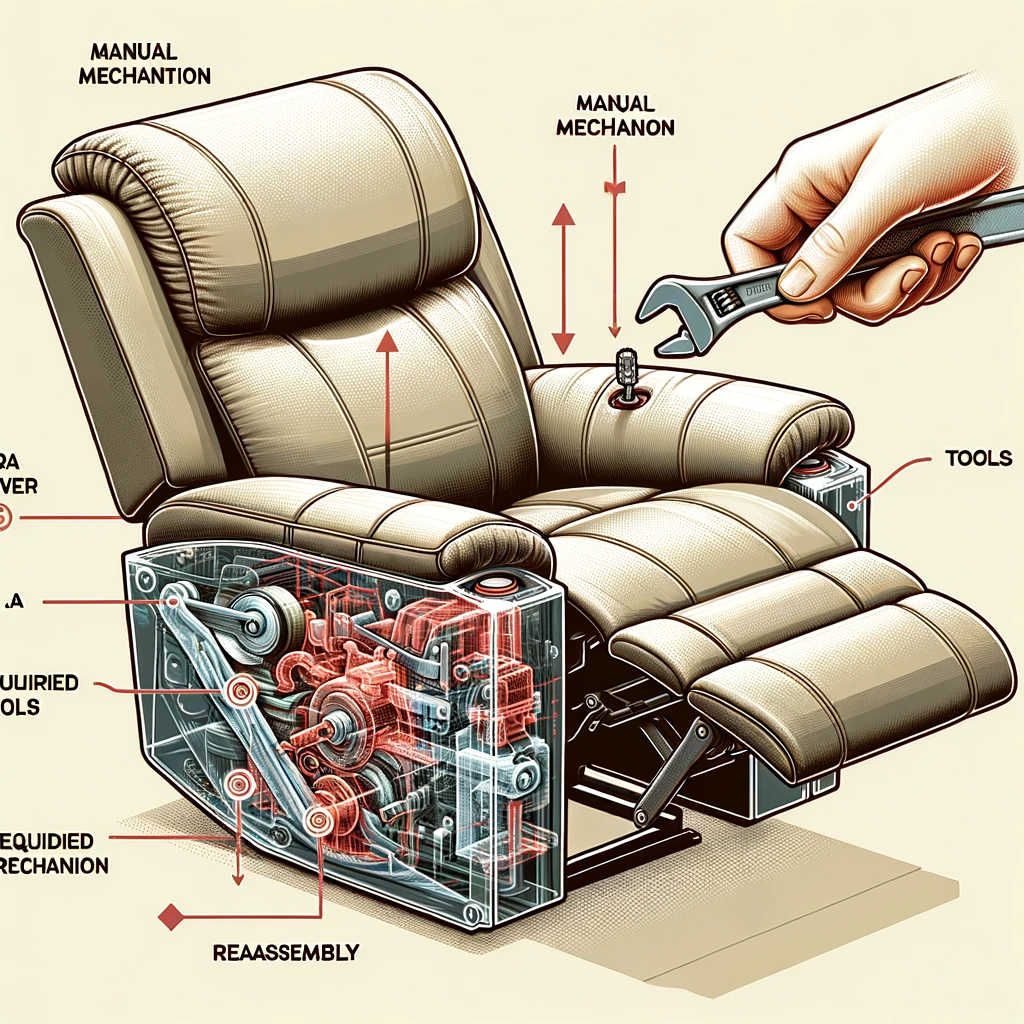
Phase-Out of Manual Controls
Begin by pinpointing the manual reclining lever on your chair. With the right tools in hand, carefully unscrew and extract it.
Next, gently disengage the manual mechanism from the chair’s foundational base, ensuring no residual parts are left attached.
Powering Up the Comfort
Start the electrifying transformation by affixing the motor to its specific spot on the chair’s base. Ensure it’s firmly in place to guarantee smooth operations.
Now, intertwine the motor with the power source, making use of the wires provided in your kit. This step is crucial for the seamless functionality of your new power recliner.
Finally, find a spot on your chair that’s both accessible and discreet to place the control button. Once positioned, secure it firmly, ensuring it’s within easy reach whenever you wish to recline and relax.
Installing the Power Mechanism
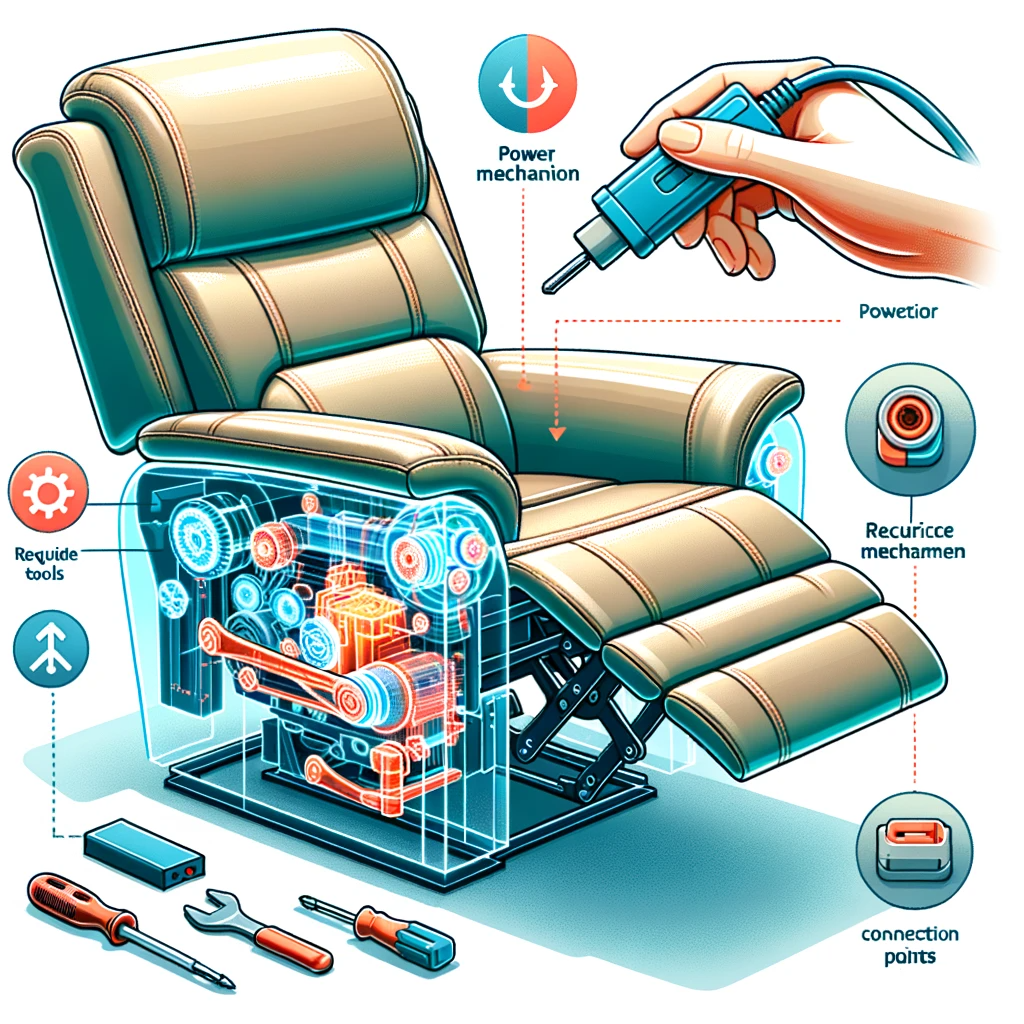
Begin the transformation by securing the motor to its dedicated position on the chair’s foundation. A sturdy attachment is essential to ensure the longevity of your upgraded recliner.
With precision, connect the motor to the designated power source, utilizing the accompanying wires from your kit. Ensure a tight and safe connection to guarantee seamless operation.
Cap off the process by placing the control button in a spot that’s easily accessible yet unobtrusive. Ensure it’s firmly attached so that adjusting your recline is always just a button push away.
Testing the Power Recliner
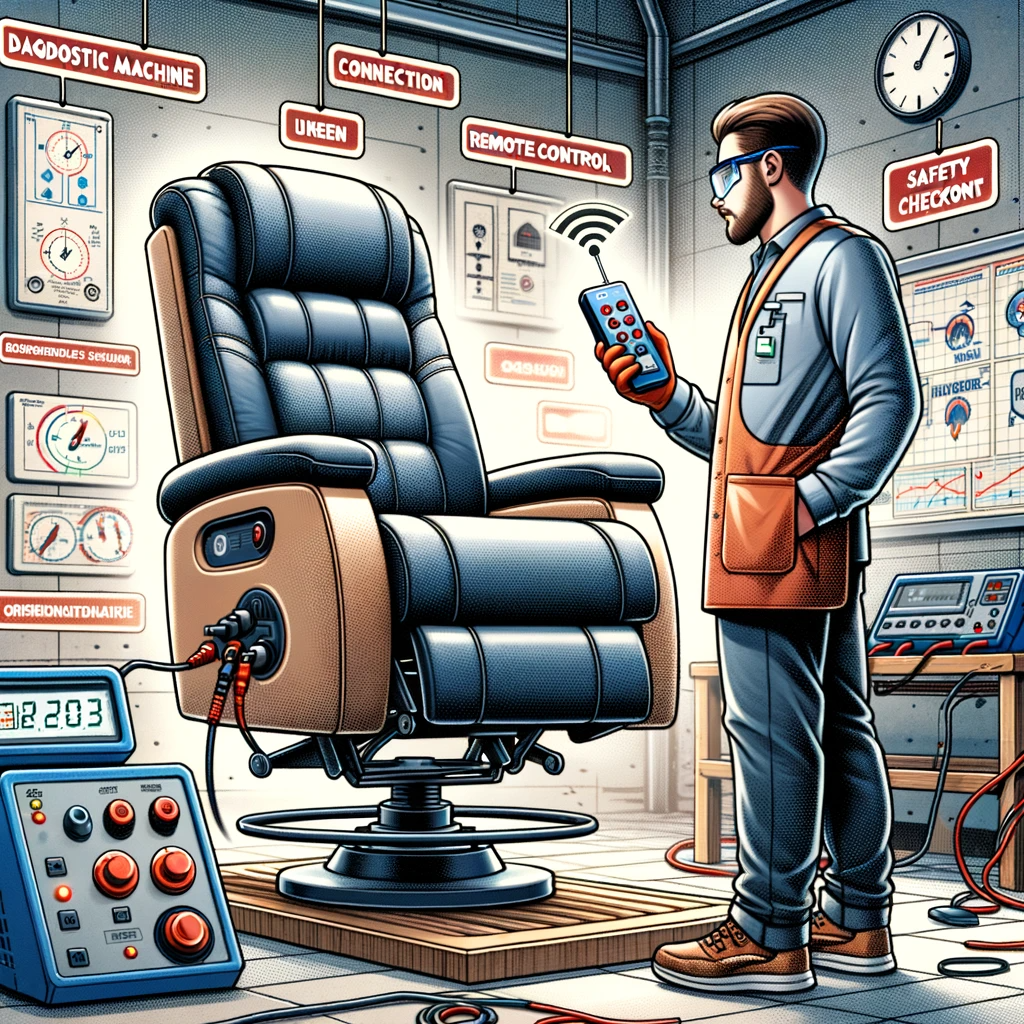
With anticipation, plug in your revamped recliner. Press the control button to experience the smooth transition of the reclining feature. It’s a moment of truth!
If the movement feels too slow or swift, delve into the settings to modify the speed and range. Tailor it to your personal comfort preference.
Finalizing the Conversion
Begin by meticulously repositioning the upholstery or fabric that was previously removed. Ensure it aligns perfectly, retaining the chair’s original charm and comfort.
As a safety precaution and for a cleaner look, inspect for any dangling wires. Tightly bundle and secure them using electrical tape, ensuring they remain inconspicuous and safe from potential wear and tear.
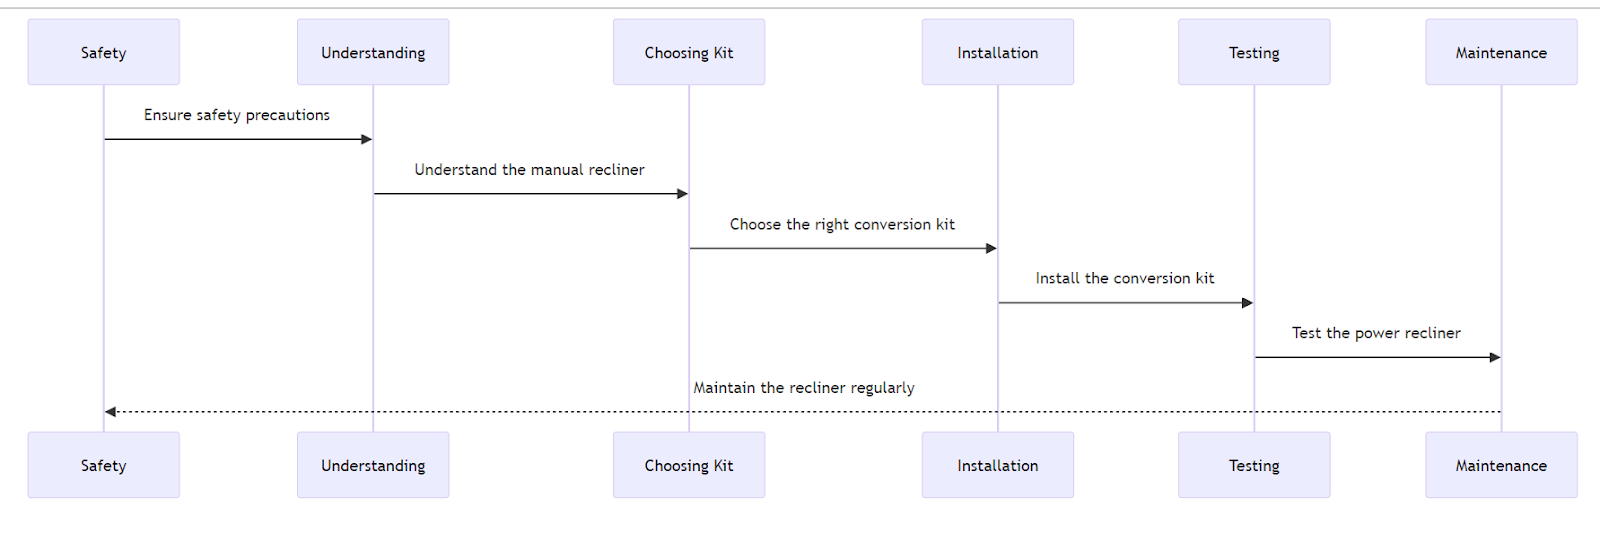
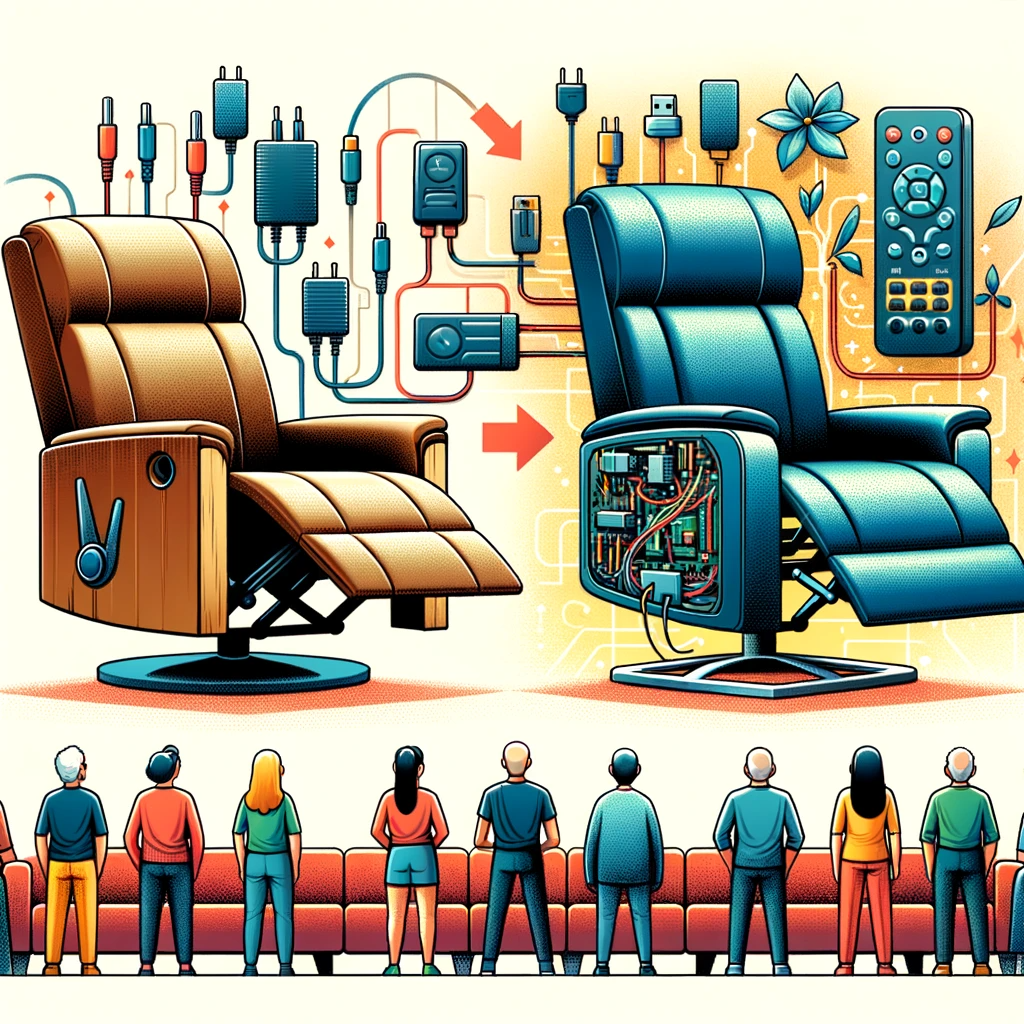
Diagram of Converting Manual Recliner to Power Recliner
Precautionary Measures
Unplug Before You Start: Before beginning any work, ensure the recliner (if it has any existing electrical components) is unplugged to avoid electrical hazards.
Wear Protective Gear: While it might seem like a simple project, always wear safety gloves to protect against sharp edges or components. Safety goggles can also protect your eyes from dust or small debris.
Avoid Force: When removing or attaching components, use gentle but firm pressure. Forcing parts can lead to damage or misalignment.
Double-Check Connections: Always cross-reference with the instruction manual when making electrical connections. Incorrect wiring can lead to malfunction or, in worst cases, a short circuit.
Test in Phases: Before finalizing the conversion and reattaching upholstery, test the recliner’s functionality at various stages to ensure everything is working correctly.
Seek Expert Help When in Doubt: If you’re unsure about any step or face challenges you can’t overcome, it’s better to consult an expert or professional rather than risk potential damage or injury.
Conclusion
The journey from a manual to a power recliner represents more than just an upgrade; it’s a leap into a realm of unmatched comfort and luxury.As we’ve navigated through the transformation process, it’s evident that the benefits far outweigh the effort.
Now, as you settle into your revamped recliner, embrace the modern convenience it offers. Let every recline be a testament to your initiative and a celebration of unparalleled relaxation. Enjoy every moment of your newfound ease.
What happens if the power goes out while I’m using a power recliner?
If the power goes out, a power recliner with no backup battery or manual override feature may temporarily stop working. However, some power recliners are equipped with manual release mechanisms that allow you to return the recliner to an upright position manually.
Are all power recliners equipped with a manual override feature?
No, not all power recliners come with a manual override feature. It depends on the specific model and brand. Some power recliners have a manual release mechanism, while others may not offer this functionality.
Can I convert a power recliner into a manual recliner if I prefer manual operation?
Converting a power recliner into a manual recliner would typically require significant modifications and may not be practical. It’s advisable to choose a recliner with manual operation from the outset if that is your preference.