Adding a swivel base to your rocker recliner can transform it into a versatile and comfortable seat that allows you to rotate and swivel with ease. In this guide, we’ll walk you through the steps to achieve this exciting furniture upgrade.
Whether you’re looking to make your favorite chair more adaptable to your living space or simply curious about a DIY project that combines functionality and comfort, we’re here to help you get started on your journey to a swivel-rocking relaxation experience.
So, grab your tools and let’s dive into the world of swivel base installation for rocker recliners!”
Swivel Base Installation Guide for Rocker Recliners: Step- by- Step
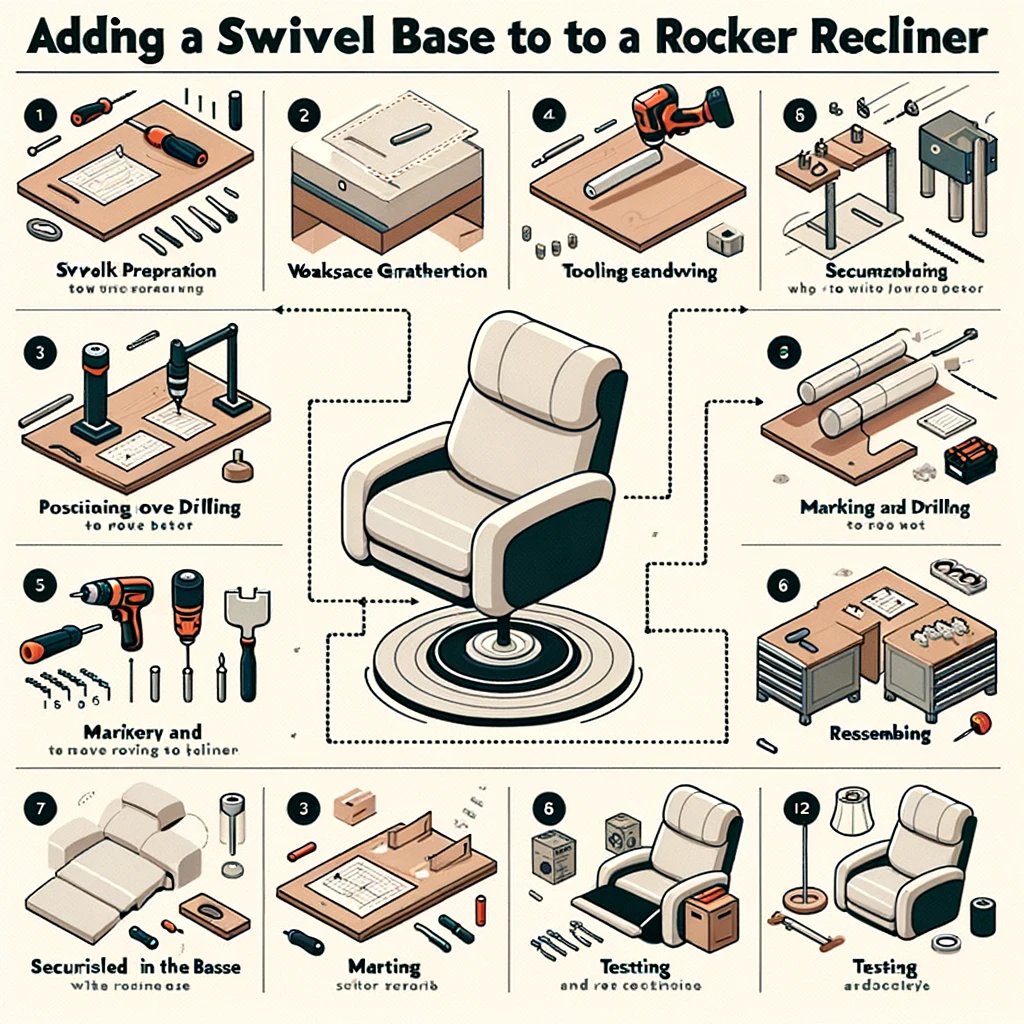
Step 1: Prepare Your Workspace
Clear a spacious, well-lit area to work on your recliner.
Lay down a protective covering or tarp to catch any debris or small parts.
Step 2: Gather Your Tools and Materials
Ensure you have all the necessary tools and materials ready, as listed in the previous section.
Double-check that you have the correct swivel base kit for your recliner model.
Step 3: Disassemble the Recliner (If Necessary)
Depending on your recliner’s design, you may need to remove the existing base or certain components.
Carefully follow the manufacturer’s instructions for disassembly, if applicable.
Step 4: Position the Swivel Base
Place the swivel base in the location where the old base was removed or where it needs to be attached.
Ensure the swivel mechanism is oriented correctly, allowing for a smooth swiveling motion.
Step 5: Mark and Drill Holes
Use a measuring tape to determine the precise placement of screw holes on both the swivel base and the recliner frame.
Mark the hole locations with a pencil or marker.
Carefully drill pilot holes in the marked locations to make it easier to insert screws later.
Step 6: Secure the Swivel Base
Align the holes in the swivel base with the holes in the recliner frame.
Insert screws, bolts, or fasteners through the holes and tighten them securely. Use the appropriate tools for this step.
Ensure that all connections are snug and the swivel base is securely attached to the recliner.
Step 7: Reassemble the Recliner
If you had to disassemble any recliner components, now is the time to reattach them.
Follow the manufacturer’s instructions for reassembly, ensuring that all parts are in their proper positions and securely fastened.
Step 8: Test the Swivel Function
Gently test the swivel base to ensure it rotates smoothly without any obstructions or issues.
Sit in the recliner and rotate it to confirm that it functions as intended.
Step 9: Make Any Necessary Adjustments
If you encounter any difficulties during the swivel function test, carefully review your installation and make adjustments as needed.
Check for any loose screws or misalignment and address these issues promptly.
Step 10: Enjoy Your Swivel Rocker Recliner
Your rocker recliner should now have a swivel base installed, adding a new level of functionality and comfort.
Take some time to relax in your transformed recliner and enjoy the convenience of the swivel feature.
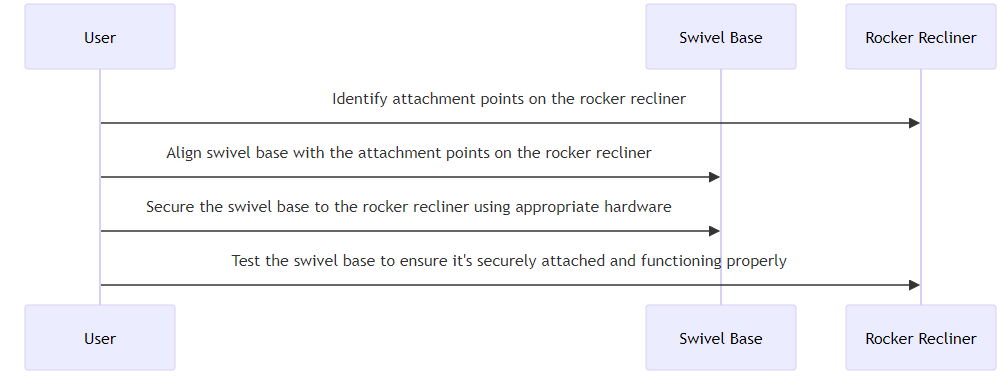
Adding Swivel Base to Rocker Recliner: Diagram
Right Rocker Recliner Types To Add Swivel Base
Traditional Rocker Recliners
These are the classic, cushioned recliners with a rocking function. Many traditional rocker recliners can be modified to include a swivel base.
Swivel Rocker Recliners
Some recliners are designed with both rocking and swiveling functions from the start. However, if your swivel rocker recliner needs a replacement swivel base, you can often find compatible options.
Glider Rocker Recliners
Glider recliners move forward and backward in a smooth, gliding motion. Some glider rocker recliners can also be adapted to include a swivel function.
Rocker Recliners with a Removable Base
Some rocker recliners have a removable base, which makes it relatively easy to replace the base with a swivel mechanism.
Adding Swivel Base to Rocker Recliner: Considerations
Not all rocker recliners are designed to accommodate a swivel base. Verify that your specific recliner model is compatible with a swivel base installation. Consult the manufacturer’s guidelines or customer support if you are unsure.
Choose a swivel base kit that is designed for your recliner type and model. The kit should come with all the necessary components, such as the swivel mechanism, bolts, nuts, and installation instructions.
Assess whether you have the required tools and skills for the installation. Common tools include screwdrivers, wrenches, a drill, and measuring tape. If you’re not comfortable with DIY projects, consider hiring a professional.
Examine the recliner’s frame and structure to ensure it can support the swivel base. Reinforcements or modifications may be needed if the existing frame is not sturdy enough.
Accurate measurements and precise hole alignment are crucial for a smooth swivel operation. Measure multiple times and mark hole locations carefully before drilling.
Conclusion
Adding a swivel base to a rocker recliner is a rewarding DIY project that can enhance the versatility and comfort of your furniture. By carefully assessing compatibility, selecting the right kit, and following precise installation steps while prioritizing safety, you can successfully transform your recliner.
Whether it’s a traditional rocker or a glider recliner, the process involves disassembly, precise positioning, secure attachment of the swivel base, and careful reassembly. Adhering to manufacturer instructions is crucial for a successful modification, and the end result offers newfound convenience and customization to your living space, allowing you to enjoy the benefits of a swivel rocker recliner.
Frequently Asked Questions
Is it possible to add a swivel base to any rocker recliner?
Not all rocker recliners are compatible with swivel base installation. Compatibility depends on the recliner’s design and structure. Check your recliner’s model and manufacturer guidelines to determine suitability.
Can I purchase a swivel base kit for my specific recliner model?
Yes, swivel base kits are available for various recliner models. You should be able to find one that matches your recliner’s make and model. Consult your recliner’s manufacturer or a local furniture store for guidance.
Is it possible to maintain the recliner’s upholstery during the swivel base installation?
It depends on your recliner’s design. In some cases, you may need to make adjustments to the upholstery to accommodate the swivel base. Consider consulting a professional upholsterer for advice on preserving the recliner’s appearance.
Will adding a swivel base void the recliner’s warranty?
Yes, it’s possible that modifying your recliner with a swivel base may void any existing warranties. Check the warranty terms and consult with the manufacturer for clarification.